The GrovePi Emulator is a system to emulate a Raspberry Pi plus GrovePI board. It runs on Windows, Mac or Linux.
Installation
Get the latest release from here: https://github.com/joemarshall/grovepi-emulator/releases/tag/v5.2
For Mac and Windows users, use the prebuilt versions. For Linux you need to run from the source code.
Unzip it to somewhere.
Running the emulator - Windows
Go to the grovepiemu folder. To run the emulator run grovepiemu.exe

Running the emulator - Mac
Unzipping the zip file should give you two files, command-click on the one with the nice icon and select ‘open’ from the menu. Tell it to ignore the security things and that you really do want to run it. Note: The first time you run it you must command click, or else you’ll be security blocked from opening the (unsigned) app bundle.

Once you have the emulator running, everything is basically the same on Windows or Mac.
The emulator interface
The interface to the emulator is in three windows: In the main emulator window you can add sensors to the emulated grovepi board and change their values, choose python scripts to run and load data to replay. In the output window you can see the output from the script that is currently running. In the properties window, you can see and alter the exact values of the emulated sensors.
The Main Emulator Window
The figure below shows the various sections of the main window, click on each of the coloured boxes for an overview of what each section does.
The Output Window
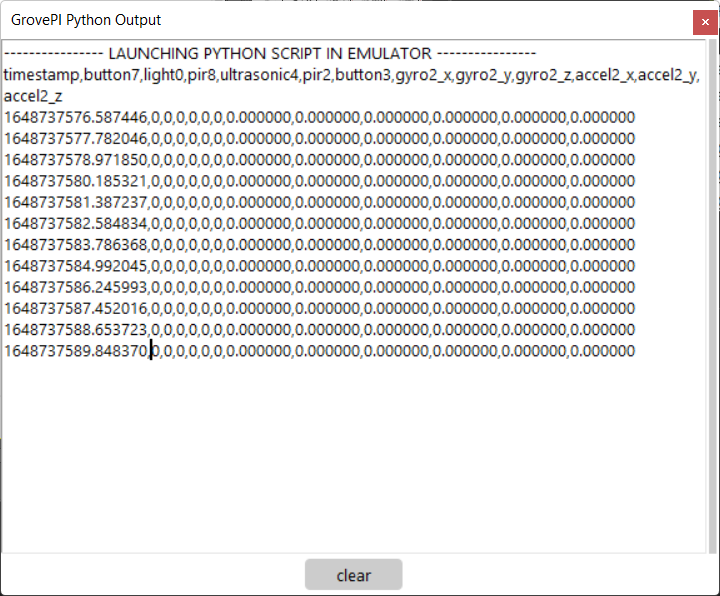
The output window shows output from your script when you run it. If there is an error in your script, it will show in red.
The Properties Window
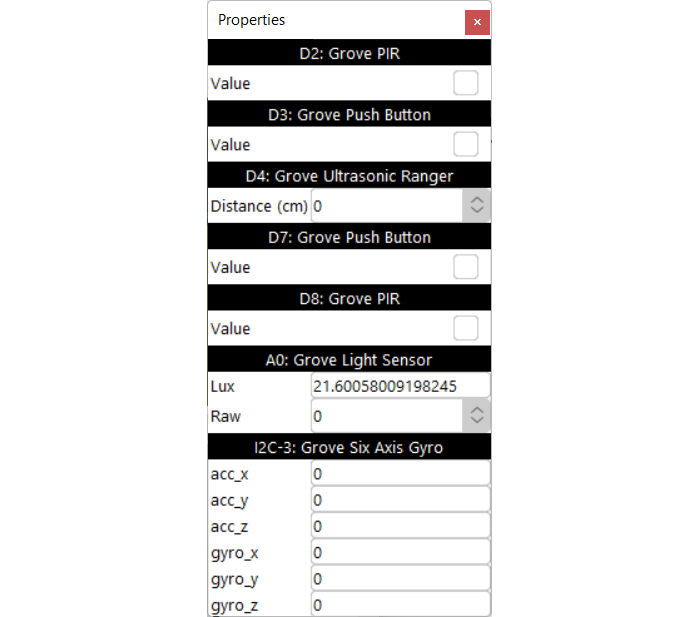
The properties window shows a quick overview of the current values of all the sensors on the emulated GrovePi board. This allows you to easily set sensors to an exact value for testing.
Setting up sensors
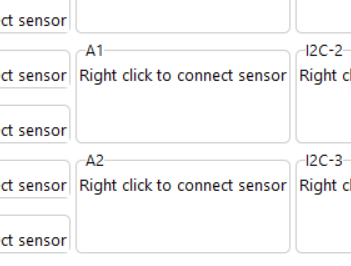
Typically when using the emulator, the first thing you will do is connect sensors to the virtual GrovePi. To do this, right click on the empty box for the pin you want to connect to (or right click on any existing sensor) and select the sensor from the menu. Note that just like on the real board you need to choose the right type of pin depending on whether the sensor is digital, analog or I2C.
Running Python on the emulated GrovePi
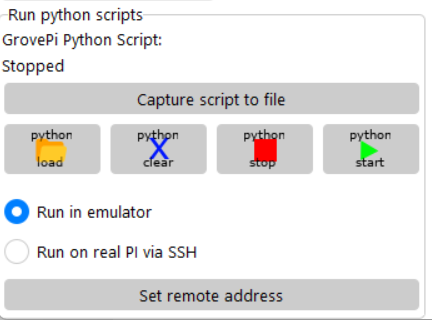
To run your Python script, first click the Python load button to choose a script to run. Then click Python start to run the script. You should see the output in the script output window. If you want to stop the script running, click Python stop. If you want to reload the script from disk and restart it, click Python start again. This means once you have the script loaded, you can alter it in an editor and just click start to reload.
Once the script is running, it will output in the script output window. Calls to the sensor module in your script will get values based on the sensors which you have setup in the main window. If you change the sensor values in the main window (or in the properties window), your script will see different sensor values.
If you want to capture the output of your script, click the Capture script to file button. This will run the script once, saving the output to the file you choose. Once the script finishes, or you click stop, capturing stops.
Running your code on a real Pi and capturing output from it
You may have noticed a choice between run in emulator and run on real PI. This is a very convenient way to run scripts on a Raspberry Pi. If you click run on real PI and give it the address of a real raspberry Pi, it will copy the script across and run it. The output from the script will show in the Python output window, and you can even capture the output to a file at the same time as viewing it using the capture script to file button without having to mess around using python -u script.py | tee output.csv over SSH . This is handy because you can mess around with your script testing it on the emulator, then just click over to run it on a real board. It copies across again every time you click play.
Note: on a real board you cannot replay sensor data or manually set the values of sensors.
Replaying captured sensor data
The emulator can also replay previously captured sensor data. To do this, use the replay controls. These allow you to play back a CSV datafile into the sensor values on the emulated GrovePi. To use this, you must capture your data to a CSV file. It must have a time column, which must be in unix timestamp format (i.e. the output from time.time()), and the file must begin with a column header line with the names of the columns separated by commas, and then have a single set of sensor readings on each line, again separated by commas. Like the below:
time,sensor1,sensor2,sensor3
1,2,3,4
2,1,2,3
3,2,2,2
You can generate this with print statements like:
import time
print("time,sensor1,sensor2,sensor3")
while True:
   ... # read sensor data
   # output timestamp and sensor values in comma separated value format
   print(time.time(),sensor1,sensor2,sensor3,sep=",")
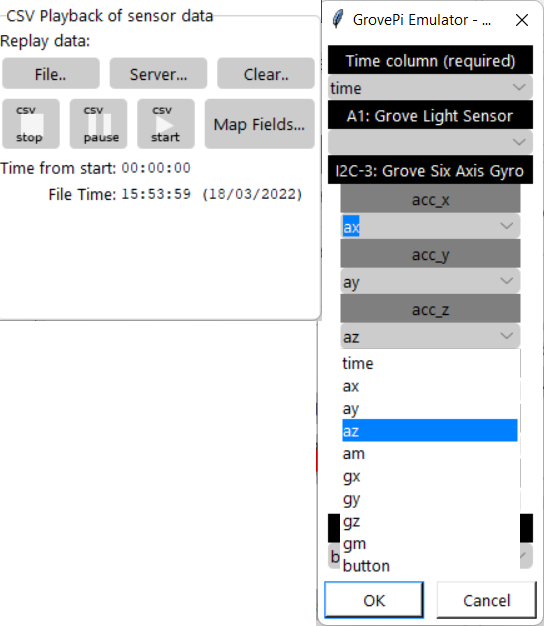
Once you have chosen your sensors in the emulator and have a suitable CSV file you are ready to replay data. To do this, first click on the File... button in the replay section of the emulator and choose your CSV file. Then the field mapping dialog will pop up. This allows you to choose which column in the csv file goes to which emulated sensor. If your time column is called time then it will automatically set that up. For other sensors, go down each of the sensor inputs and click the drop down box to select which column in the CSV file is mapped to that emulated sensor value. For things like gyro and accelerometer which have multiple values, you can map a column to each value. Once you have this all set up, you can hit play, and the sensor values should start animating on the main emulator window.
Note: this play button is separate from the run python script button - this means you can run the script multiple times against one sensor data file, or replay sensor data multiple times against the same running script.
